If you wish to edit or manage your classroom, click the tab My Schools in the KUBO Portal to get an overview of your classrooms.
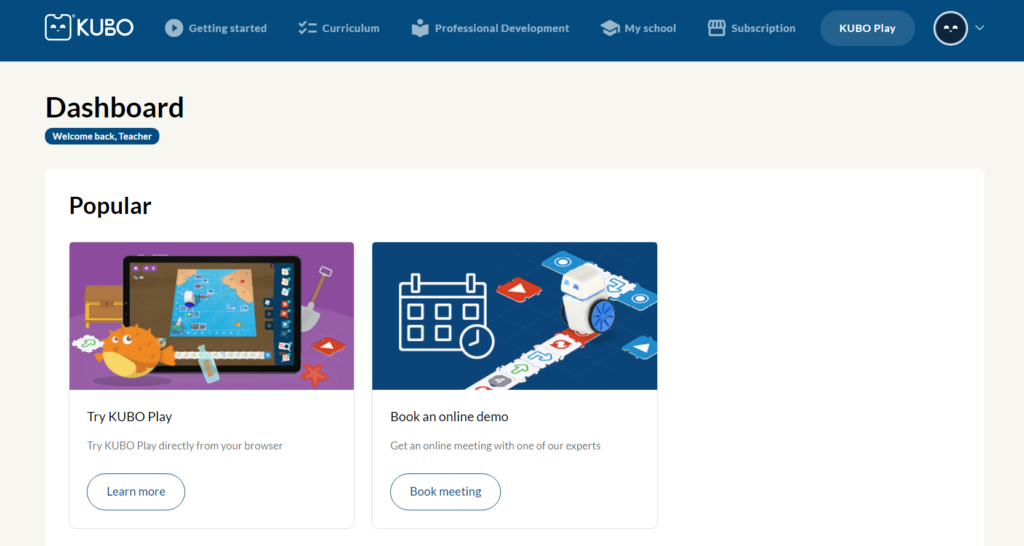
In your overview, you can see all the classrooms you have created. If you wish to edit one of them, you must click the button manage to the right of the class name.
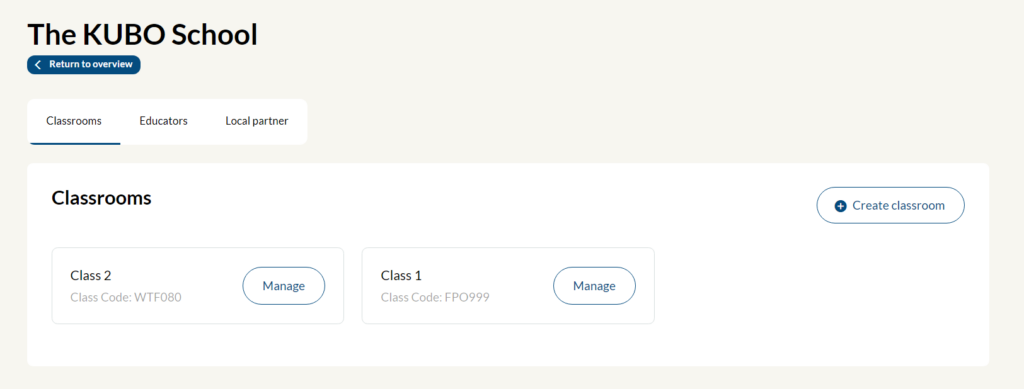
When you have clicked the button manage, you will be directed to an overview page. Here, you have an overview of your students and educators assigned to the classroom. You can also create students or click options to rename or delete the class.
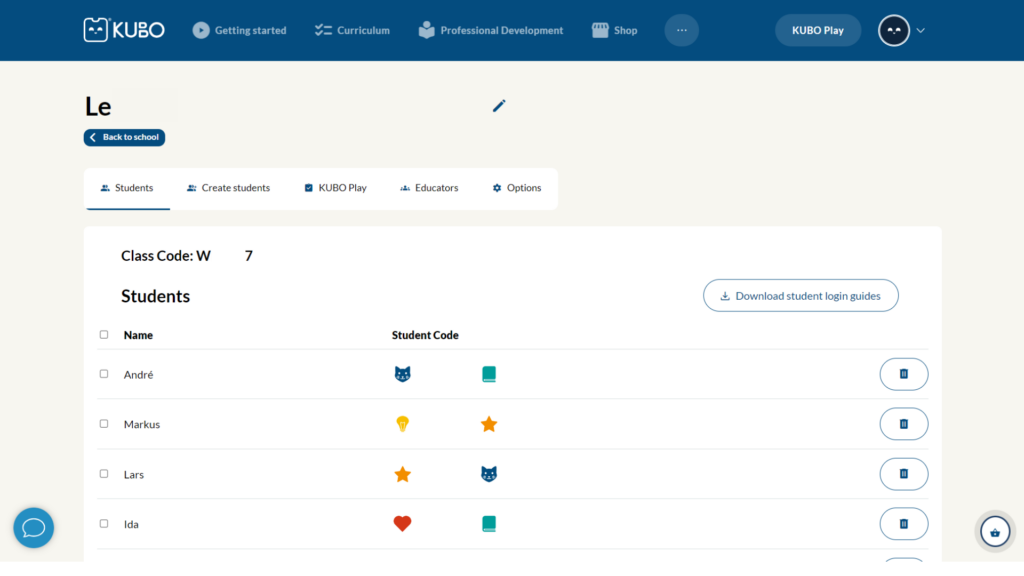
Rename or delete classroom #
Click the tab options to rename or delete the classroom.

If you wish to rename the classroom, click on the button rename classroom and the name will be possible to edit directly in the same tab.

If you wish to delete a classroom, click the button delete classroom. This will open a window, in which you have to confirm that you wish to delete it.
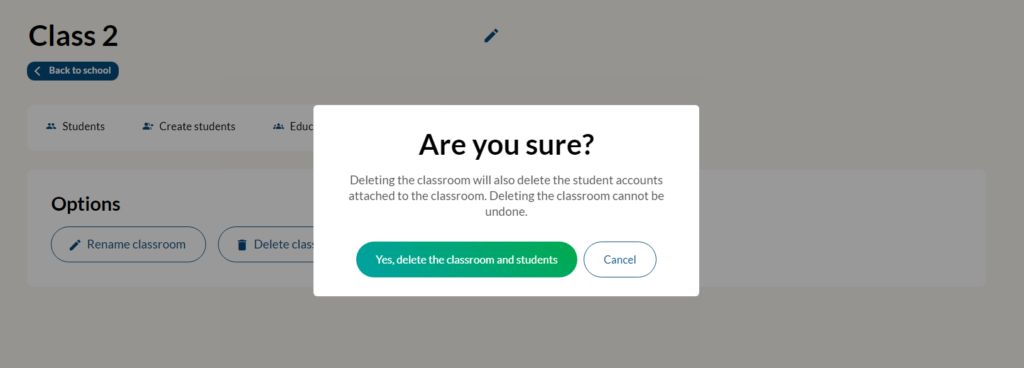
Be aware that the school cannot be recreated afterward. All the students must be added to a new school manually.
Create students #
Under the tab create students you are able to create new students. Add a new student by typing in a nickname for them. If you wish to create another student, press the button add extra student.
When you have entered a nickname for all of your students, you must choose a single sign-on method for them. When you are ready, click the button create students to add them to your classroom.
You can also add students by importing names from a spreadsheet. Use the button import from spreadsheet to your right. Be aware that only .csv and .xlsx files are accepted.

When you have clicked the button import from spreadsheet, a new window appears. Click upload spreadsheet file to select a file from your computer.
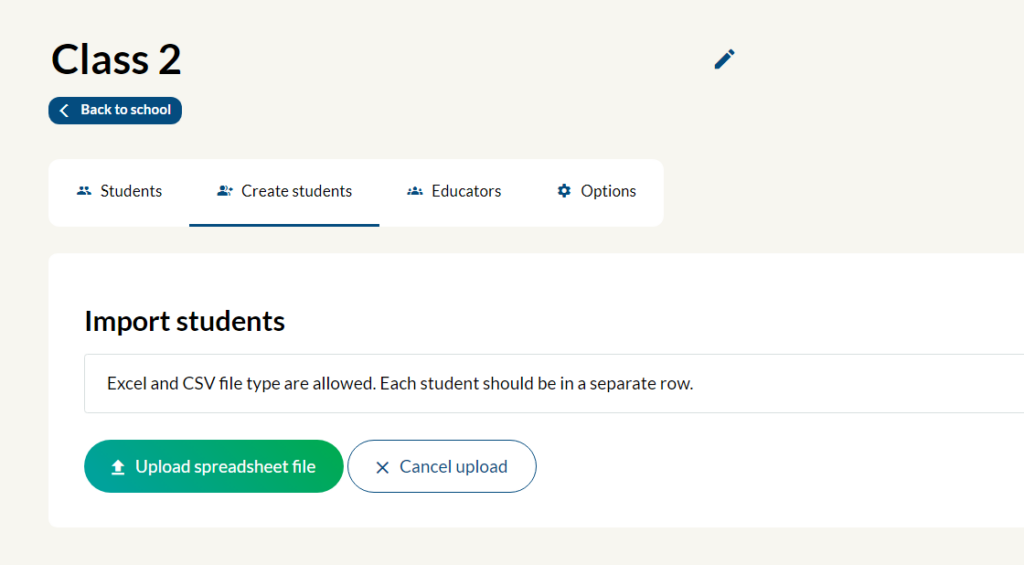
When you have uploaded the file, all of the student names found in the spreadsheet will be ready for upload:
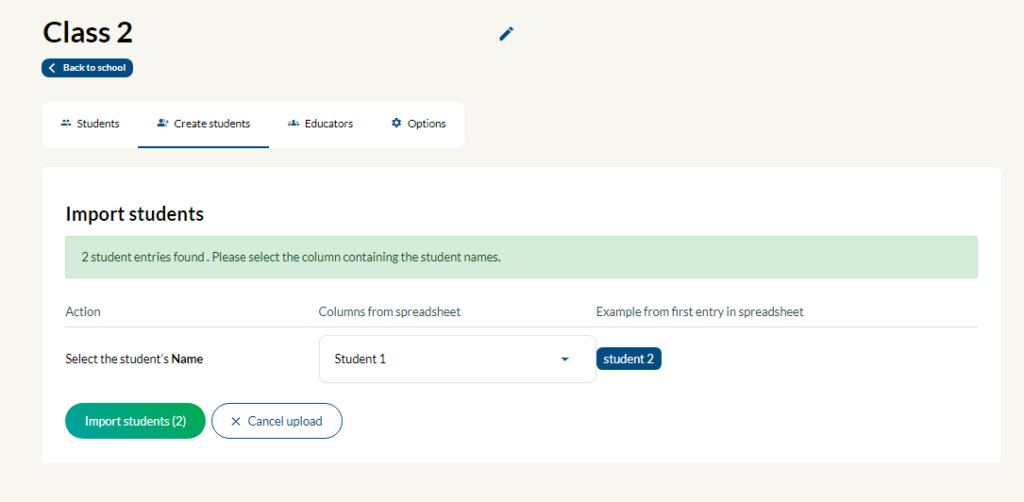
Click import student to import the names. Afterward, you will be redirected to the tab create students where you can see all of the students’ names, and edit them if you wish. Remember that spaces aren’t allowed to secure the student’s privacy. When you have made sure it is the proper names, and chosen a single sign-on method for the students, you are ready to click create students. Now, you can find the students under the tab students.
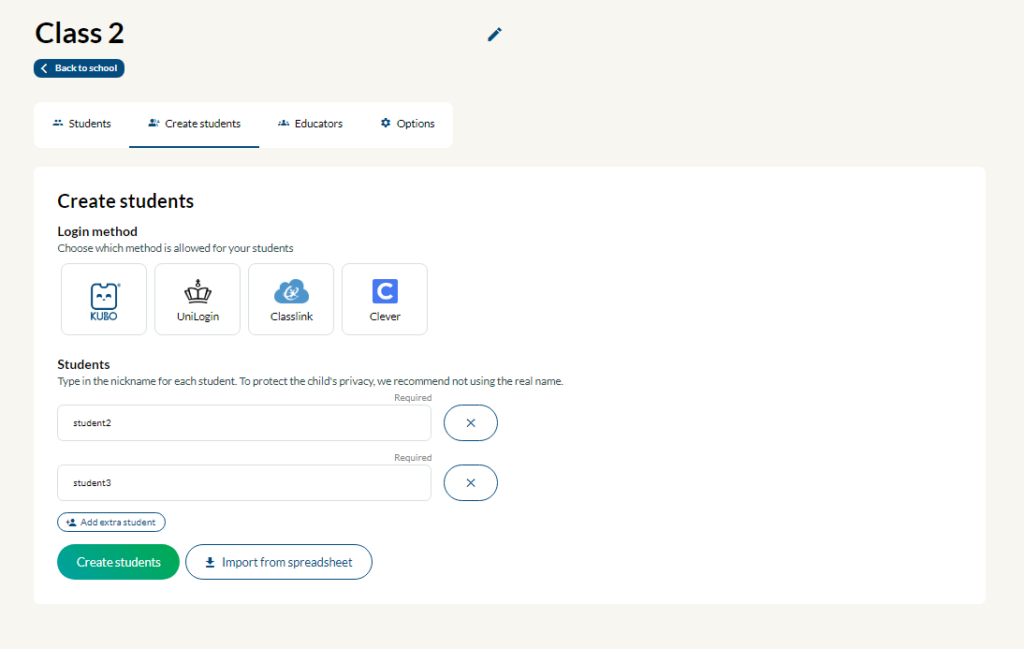
If the single-sign-on method chosen is “KUBO”, all your students will get a personal student code consisting of symbols, which they can use to log into KUBO Play. The student code can be found under the tab students. Here, you can also find a student login guide that you can download for each student. They specify how to log in to KUBO Play in a few easy steps. You can also read more about the device compatibility with KUBO Play.

If you wish to create more students, select the create students tab.
Connected students to KUBO Play #
If you have a subscription, you can see how many students that are connected to KUBO Play via the students connected-bar in the upper right corner.


